
Stambia DI Designer is developed with and runs with Java.
You'll therefore need to have a java version installed to be able to run the Designer!
This article explains the various way to install Java.
Installing Java for the whole system
First and most common way is simply to install Java on your computer.
For this, simply follow the instruction to install java depending on your operating system, which can be Linux, macOS, Windows.
Refer to the online documentation of Java for further information.
This is the most common way to install Java.
Installing an embedded version in the Designer
You can also install a Java version dedicated to Stambia DI Designer also if you prefer to not install Java on your whole computer.
This consists of downloading / retrieving a standalone version of Java which can then be simply unziped in the proper folder.
To do this:
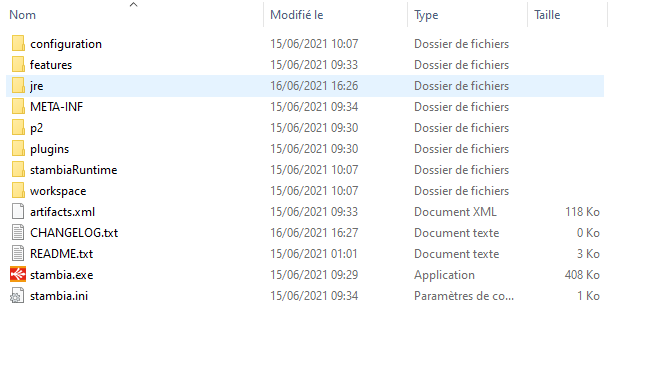
- Create a folder named "jre" inside the designer installation folder
- Download / retrieve a standalone version of Java
- Unzip it inside the previously created "jre" folder
For example, creation of the JRE folder
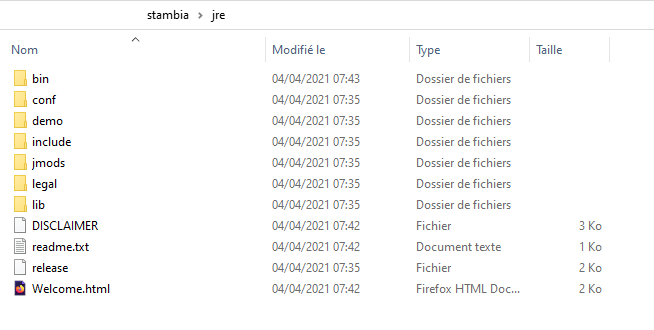
And extraction of the standalone java version inside:
Standalone Java version are available from various providers, depending on your operating systems.
For Windows, as an example, you can download for instance the 64 bits version of the Azul JDK 11 for Windows 64bit: https://cdn.azul.com/zulu/bin/zulu11.48.21-ca-jdk11.0.11-win_x64.zip
After unpacking the archive of the designer put the files inside the previously created "jre" folder as presented above.