As indicated in the Stambia DI and Kafka Article, it is possible to connect to Kafka from Stambia.
If you never used it yet in Stambia, or if you need a little remind on how to install and use it, you are at the good place.
You'll find in this article the basics, from the installation to the first Mapping, with some explanations on the reverse by the way.
Prerequisites:
- Stambia DI Designer 19.0.21 or higher
- Java 1.7 or higher
Note:
A demonstration project featuring examples and samples can be found in the presentation article.
Note:
Stambia DI is a flexible and agile solution. It can be quickly adapted to your needs.
If you have any question, any feature request or any issue, do not hesitate to contact us.
Installation
Connector Installation
The first step consists of installing the Stambia kafka connector into the Designer.
For this, we let you take a look at this article that explains how to install plugins into the Designer.
The download section for the connector can be found in the presentation article.
Template installation
The next step consists of importing generic templates and Kafka templates into your workspace.
After having downloaded them from the presentation article or download page, simply import them as usual.
Kafka Metadata
There is a dedictad Kafka metadata :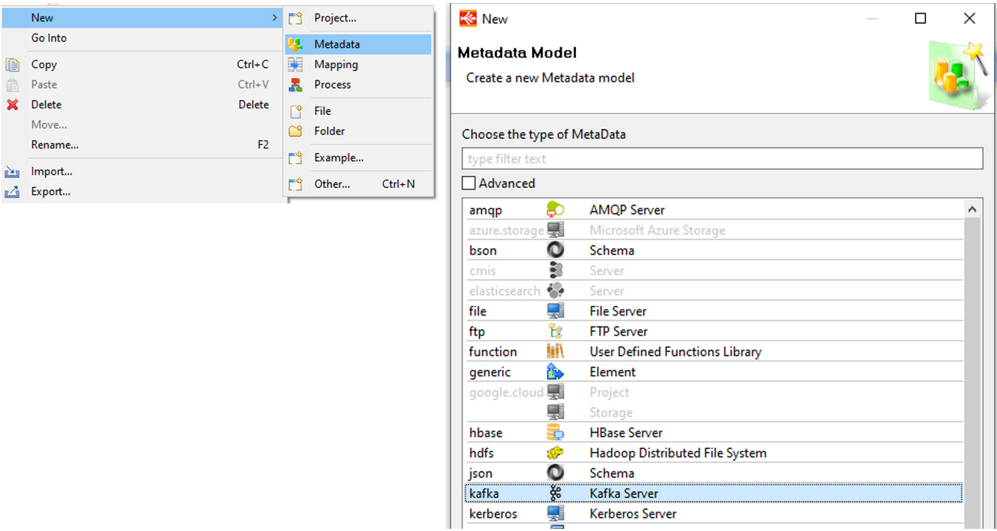
You have to defined the host :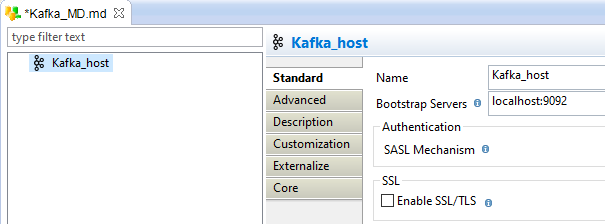
Then you can create the Topics :
On the topics, one value must be created, with a type :
Then you can create the consumer. Consumers must subscribe to the topics to read the messages.
On the consumers, one value must be created, with a type, like on the topics.
On the Topics and the Consumers, you can created Headers and Propertyes.
Use in a mapping
Now we can use the metadata in mappings.
A example of a produce mapping :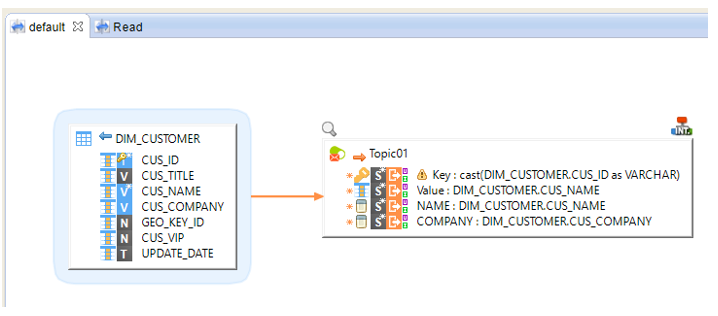
An example of a consume mappping :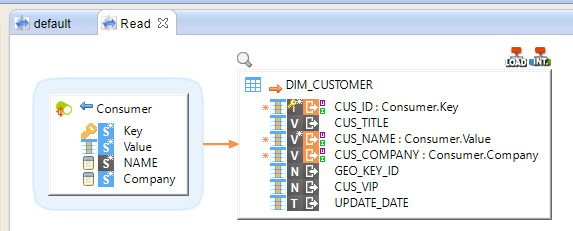
Templates
If the Kafka Server is not running, your mapping will run infinily, without message
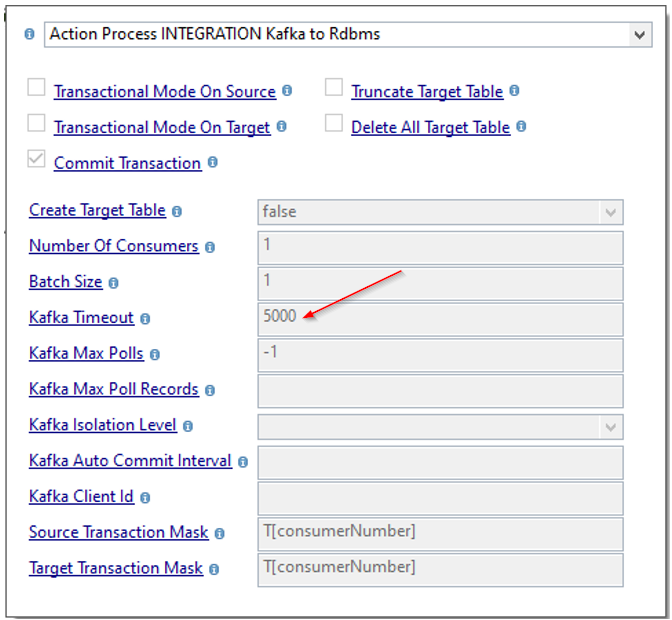
The timeout of the template Kafka To Rdbms is parameter to 5 seconds. If you want use Kafka for streaming, you must increase the parameter.
